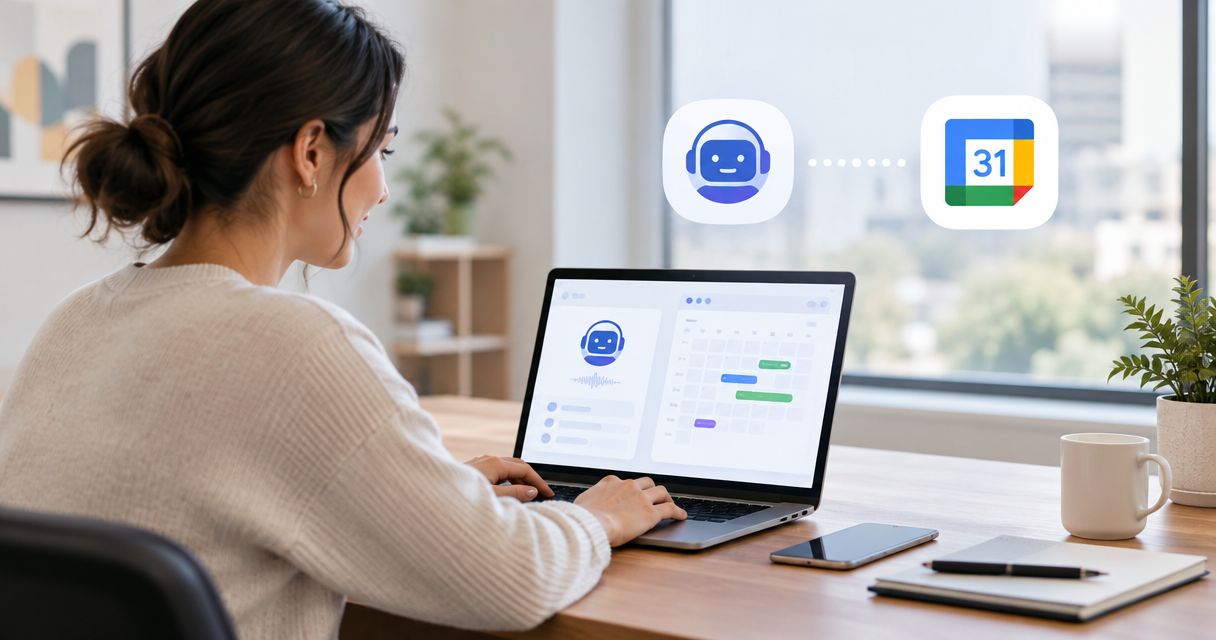
Instead of manually copying appointment requests into Google Calendar, connect your receptionist through a supported calendar connection so booking follows your working hours and existing commitments. To connect AI receptionist to Google Calendar with AL IntelliFlow, first confirm the connection method for your account, then authorize access, configure booking rules, and test event creation before accepting live bookings.
- To connect AI receptionist to Google Calendar, verify connection support before configuring appointment booking.
- AL IntelliFlow serves service businesses that need lead capture, follow-up, and appointment booking in one workflow.
- Google Calendar access must cover both availability checks and event creation for automatic booking.
- Keep appointment requests separate from confirmed bookings until the calendar event exists.
Why this matters
A receptionist that captures an appointment request has not necessarily booked an appointment. The workflow needs to check the right calendars, apply your scheduling rules, create the event, and report whether creation succeeded.
AL IntelliFlow is best for service businesses seeking lead capture, follow-up, and appointment booking in one workflow. Its stated scope covers those tasks; calendar connectivity still needs to be verified for your account. Start with AL IntelliFlow when confirming the supported connection method rather than assuming a particular integration menu exists.
For your 2026 setup, define success as a confirmed event on the correct calendar—not a completed conversation. A polite reply cannot reserve a time slot.
Before you start
- Account access: Have access to your receptionist account and the Google account that owns or manages the booking calendar. Confirm the supported Google Calendar connection method and its authorization requirements before changing scheduling rules.
- Booking materials: Prepare your working hours, appointment duration, service area or meeting location, required customer details, and a named person responsible for exceptions. Decide which calendar receives appointments and which calendars block time.
- The permission gotcha: Being able to view a shared calendar does not mean you can create events there. Verify event-editing access, and confirm how the connection handles calendars shared with your Google account.
Do not begin with customer-facing automation. Finish authorization and testing first, particularly when another employee owns the calendar or a Google Workspace administrator controls application access.
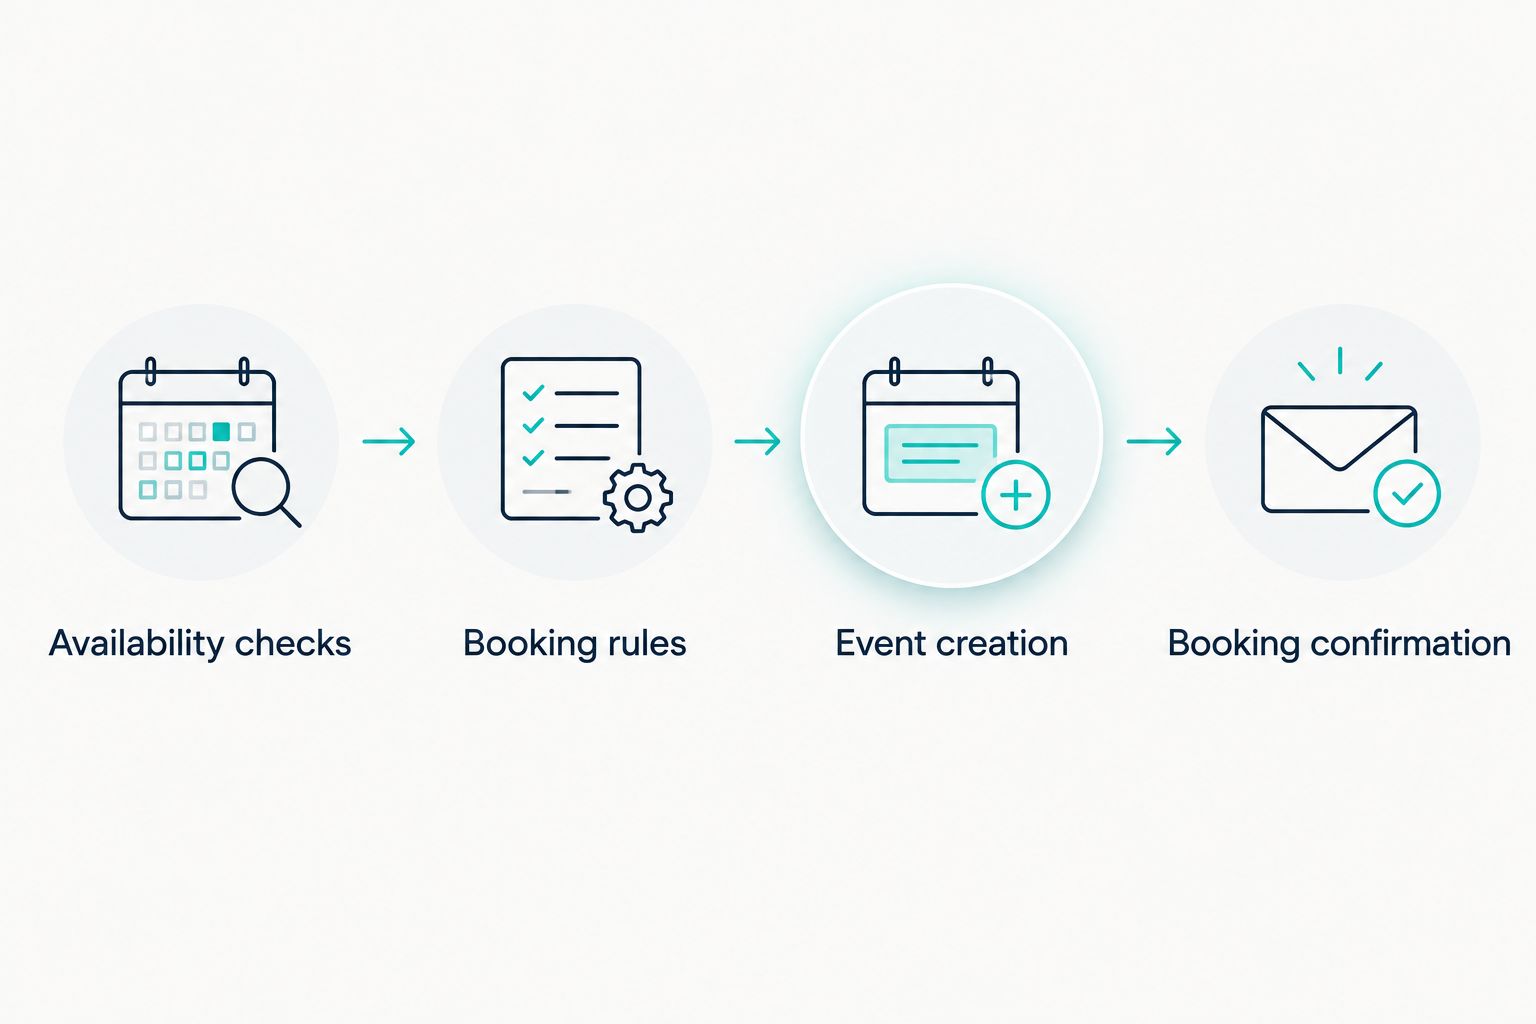
Availability checks
Your availability configuration determines which times the receptionist can offer. Treat the calendar receiving appointments and the calendars blocking appointments as separate decisions, even when they happen to be the same calendar.
Configure calendar access
- Identify the appointment destination. Choose the Google Calendar that should contain confirmed bookings. Record its calendar name and owner so you can distinguish it from similarly named personal or team calendars.
- Check Google permissions. On desktop Google Calendar, open the relevant calendar’s Settings and sharing. Review Share with specific people or groups when access is provided through calendar sharing.
- Verify the required permission level. Google Calendar’s See all event details permission permits viewing event information; Make changes to events permits editing events. Neither label proves what an external connection supports, so match permissions to the documented connection requirements.
- Authorize the supported connection. Use the connection method confirmed for your receptionist account. During Google authorization, inspect the account being connected and the requested access before approving it.
- Select blocking calendars. Include calendars containing commitments that must prevent bookings. Do not assume connecting a Google account automatically checks every calendar visible to that account.
Expected result: You can identify the destination calendar, explain which calendars block appointment times, and verify that the authorized connection has the required access.
Avoid granting broader access simply to make a connection work. If authorization fails, resolve the account, calendar, or administrator restriction instead of sharing unrelated business calendars.
Booking rules
Google Calendar stores events; your receptionist workflow also needs rules governing which appointments it can offer. For a 2026 rollout, write these rules in plain language before translating them into the settings your supported connection provides.
Configure appointment boundaries
- Set working hours. Define when customers can book, including closed days and exceptions. An empty calendar outside business hours is not an invitation to schedule an appointment.
- Set the scheduling time zone. Use the business’s operating time zone and confirm how customer-facing messages display it. Distinguish the customer’s local time from the time used to evaluate business availability.
- Set appointment duration and buffers. Use the duration required by the service, including any preparation, cleanup, or travel time. Ensure the whole appointment fits inside working hours.
- Define booking eligibility. Specify the details required before a request becomes eligible for scheduling. For a service business, these can include the requested service, customer contact information, and location where relevant.
- Define exception handling. Route requests outside the service area, unclear requests, and appointments requiring approval to a person. Tell the customer the request needs review rather than presenting it as booked.
Expected result: A request receives an eligible time only when it satisfies your service requirements, fits working hours, and does not conflict with blocking calendars.
Write the rule before enabling the automation. If an employee cannot explain why a slot is eligible, the configuration is not ready for live customers.
Choose the appropriate booking workflow
Automatic booking and approval-based requests solve different scheduling problems. These are workflow designs to evaluate, not a claim that every receptionist account provides both configurations.
| Workflow | Best for | Advantage | Limitation |
|---|---|---|---|
| Automatic booking | Standard appointments with clear eligibility rules | Removes the manual calendar-entry step after a qualifying request | Requires verified availability checks, event creation, and failure handling |
| Appointment request | Work needing assessment or staff approval | Keeps a person responsible for confirming unusual requirements | Leaves a manual decision between the request and the confirmed appointment |
For AL IntelliFlow appointment booking, select the workflow your account supports and your business can operate reliably. Use automatic booking only after its event creation and conflict checks pass testing. Use an appointment-request process when approval is necessary or when those requirements have not been met.
Event creation
A booking workflow needs a clear sequence: evaluate the request, check availability, create the event, then confirm the result. Do not let a customer-facing message stand in for the calendar write.
Map appointment information
- Define event content. Specify the appointment title, start and end times, meeting location, and the customer details needed by the person delivering the service. Keep sensitive qualification notes out of broadly shared calendar descriptions.
- Choose one creation owner. Decide which system creates the calendar event. Avoid having a receptionist workflow and a separate follow-up workflow independently create the same appointment.
- Connect confirmation to success. Configure the supported workflow so it confirms a booking only after successful event creation. On failure, retain the request for staff review and explain that booking is not yet confirmed.
- Verify notifications separately. Check whether the customer receives an invitation, a message, or both. Calendar event creation and customer notification are different actions; test each rather than assuming one guarantees the other.
Expected result: A qualifying request produces the intended event, without a second workflow creating a duplicate, and the customer receives an accurate booking status.
For your 2026 appointment process, record who resolves failed bookings. An error without an owner simply moves the manual work somewhere less visible.
Booking confirmation
Test the full customer journey before enabling live booking. A successful authorization screen proves access was granted; it does not prove your working hours, conflict rules, or customer messages are correct.
Run acceptance checks
- Test an eligible request. Use a test customer and an open time within working hours. Check the destination calendar, event duration, location, and confirmation message.
- Test a blocked time. Create a test event in a blocking calendar and set its availability to Busy. Request an overlapping appointment and verify that the workflow does not book it.
- Test a closed period. Request a time outside working hours. Verify that the response offers an eligible alternative or routes the request for review without confirming the closed time.
- Test a repeated request. Submit the same booking request again. Check whether the workflow prevents a duplicate or sends the repeat to a person for resolution.
- Test a failure. In a controlled test, interrupt the connection or use a request that cannot be completed. Verify that the customer does not receive a false confirmation and that staff can find the unresolved request.
Expected result: Successful requests create correct events; conflicting, repeated, and failed requests do not produce misleading confirmations.
Keep a written result for each check. After a 2026 account change, calendar change, or workflow edit, repeat the checks affected by that change before restoring unattended booking.
Appointment changes and cancellations
Updating an appointment is an adjacent workflow, but it requires more than the ability to create new events. Confirm that the supported connection can locate and update the original booking before offering automatic rescheduling or cancellation.
Use the following sequence when update support is confirmed:
- Identify the original appointment. Use the event reference retained by the booking workflow. Do not rely only on a customer name, which can match unrelated appointments.
- Validate the requested change. For rescheduling, apply the same eligibility, working-hours, and availability rules used for a new booking.
- Update the existing event. Change the original appointment rather than adding a replacement and leaving the earlier event active.
- Confirm the completed change. Tell the customer the new status only after the calendar update succeeds. Notify the responsible employee through your established process.
Expected result: The calendar contains the current appointment rather than conflicting versions of the same booking.
For cancellations, verify what happens to reminders and follow-up tasks. Removing a calendar event does not establish that every separate messaging workflow has stopped.
Troubleshooting
The calendar is visible, but booking fails
Check event-editing access and the destination calendar. Viewing rights do not grant permission to create appointments. Also verify that authorization belongs to the intended Google account rather than another account signed into the browser.
The receptionist offers occupied times
Check the blocking-calendar selection and the event’s availability. In Google Calendar, an event marked Free does not block time in the same way as an event marked Busy. Repeat the overlapping-event test after correcting the configuration.
The appointment appears at the wrong time
Compare the business time zone, event time zone, and customer-facing message. Verify the appointment as displayed in the destination calendar. Include the relevant time zone in confirmations when customers and staff operate in different zones.
The same appointment appears twice
Find every workflow that creates events. Assign event creation to one owner and inspect retry handling in the supported connection. A retry must not silently become a second appointment.
The customer receives confirmation without an event
Move confirmation behind verified event creation. Review the failed request and arrange human follow-up. Do not treat a conversation transcript or an outgoing message as proof that Google Calendar contains the booking.
Customize your workflow
Once calendar booking passes testing, connect the operational steps around it. AL IntelliFlow’s stated workflow scope includes lead qualification and follow-up; use those functions to clarify requests and handle unresolved opportunities rather than adding messages without a defined purpose.
- Before booking: Collect the details needed to determine whether the service fits the request.
- After booking: Give customers accurate appointment information and an established way to request changes.
- After a failure: Assign the unresolved request to a person and preserve the context needed to finish it.
- After a cancellation: Check separate reminder and follow-up processes before sending further messages.
For your 2026 workflow review, inspect failed requests alongside completed bookings. Measure completion by the appointment outcome, not by the number of automated replies.
FAQ
How do I connect AI receptionist to Google Calendar?
Verify that your receptionist account supports a Google Calendar connection, authorize the required access, configure availability and booking rules, and test event creation. Confirm the appointment only after the calendar write succeeds.
Does AL IntelliFlow automatically connect to Google Calendar?
Confirm the Google Calendar connection method for your AL IntelliFlow account before setup. Appointment-booking functionality alone does not establish which calendar connections or authorization methods an account supports.
What Google Calendar permission do I need for appointment booking?
Appointment creation requires permission to create events on the destination calendar. For shared-calendar permissions, Make changes to events provides editing access; the supported connection can also require its own Google authorization.
Can my receptionist check more than one Google Calendar?
Use multiple blocking calendars only when your supported connection provides that capability. Explicitly select and test each calendar rather than assuming every visible calendar is included.
How do I stop an AI receptionist from double booking?
Require availability checks before event creation and test requests that overlap a Busy event. Also verify repeated requests, retries, and any other workflow that creates appointments.
Can customers reschedule through the receptionist?
Automatic rescheduling requires a supported workflow that identifies and updates the original event. If that workflow is not established, route the change request to a person rather than creating another booking.
Why did a customer get confirmation without a calendar appointment?
The confirmation workflow did not verify successful event creation. Place confirmation after the successful calendar write and send failed requests to staff for resolution.
One last thing
A calendar event can exist without blocking appointment time. That distinction is easy to miss when checking whether a connection works.
Use a test event marked Busy to verify conflict handling. The acceptance question is not just whether the receptionist can see an event; it is whether the workflow refuses to book over it.